7. Eclipse
This document describes the use of Eclipse.
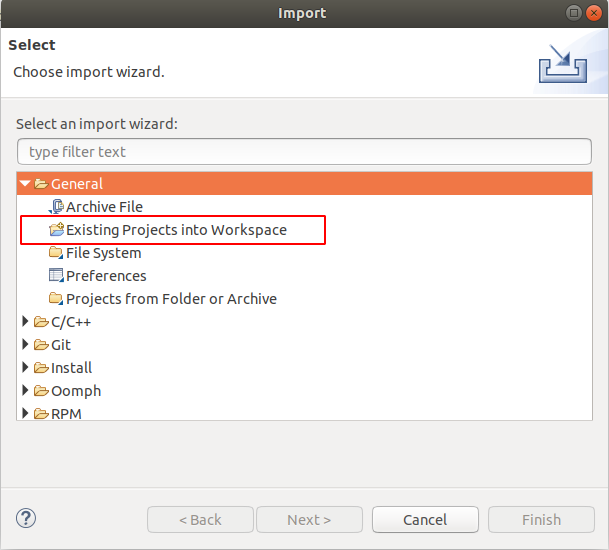
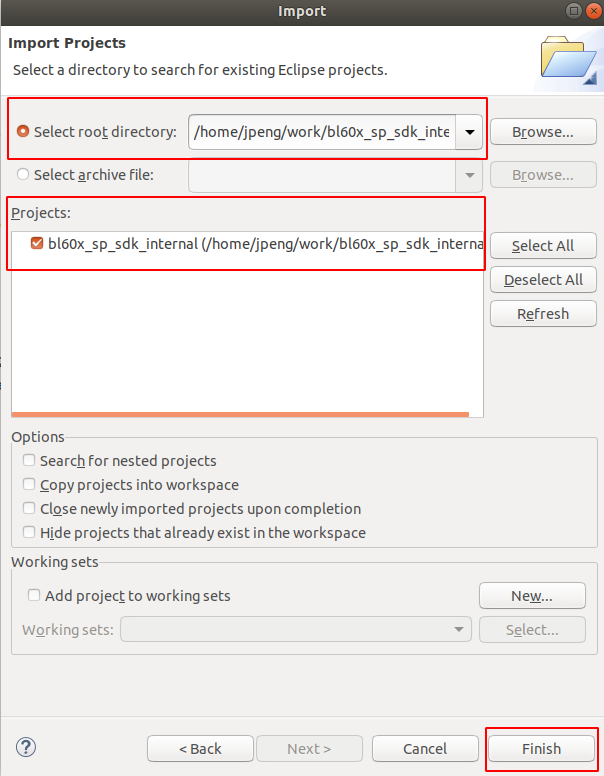
7.1. import project
First of all, start
eclipse, openFile > importon the toolbar and select theExisting Projects into Workspaceoption under theGeneralmenu to import the projects.
7.2. Debug
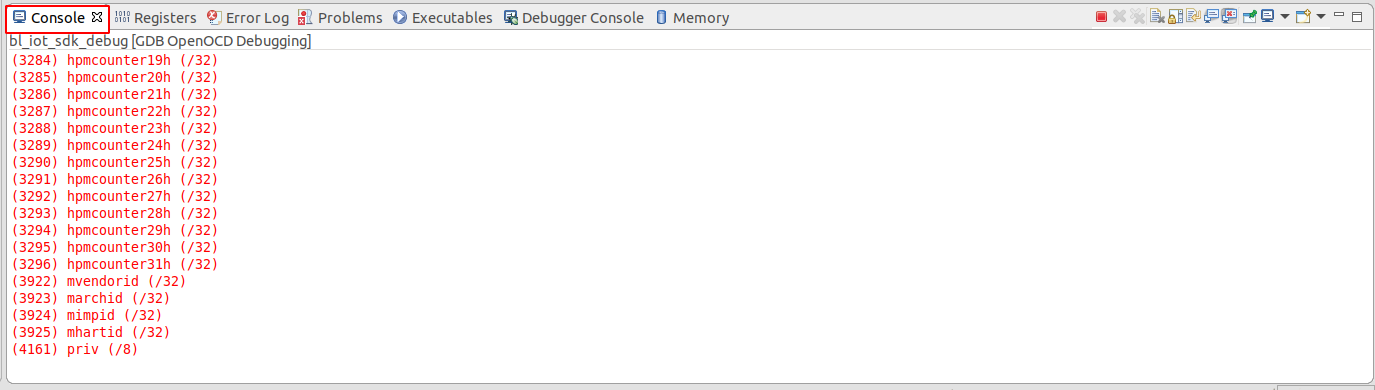
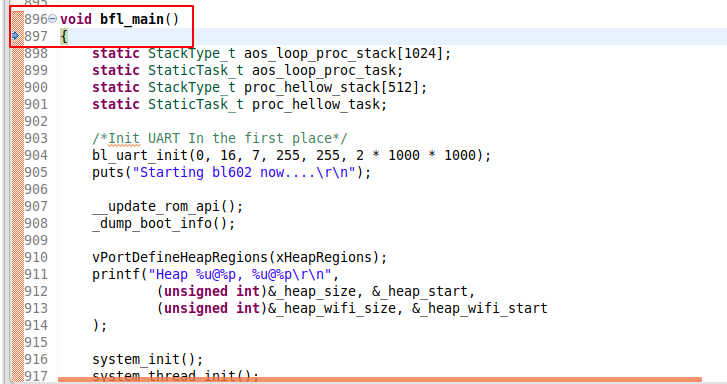
First of all, let the board run, make sure the toolbar at the top left of the eclipse is configured as shown in Figure 1 below, then click the icon
debugbutton in the first red box, the eclipse will compile the project first, after that, you can see the log in theConsolewindow below the eclipse as shown in Figure 2 below.

This image was not present in the original sources and has been reconstructed based on context. It might not accurately reflect the original image nor the intent of the original image.
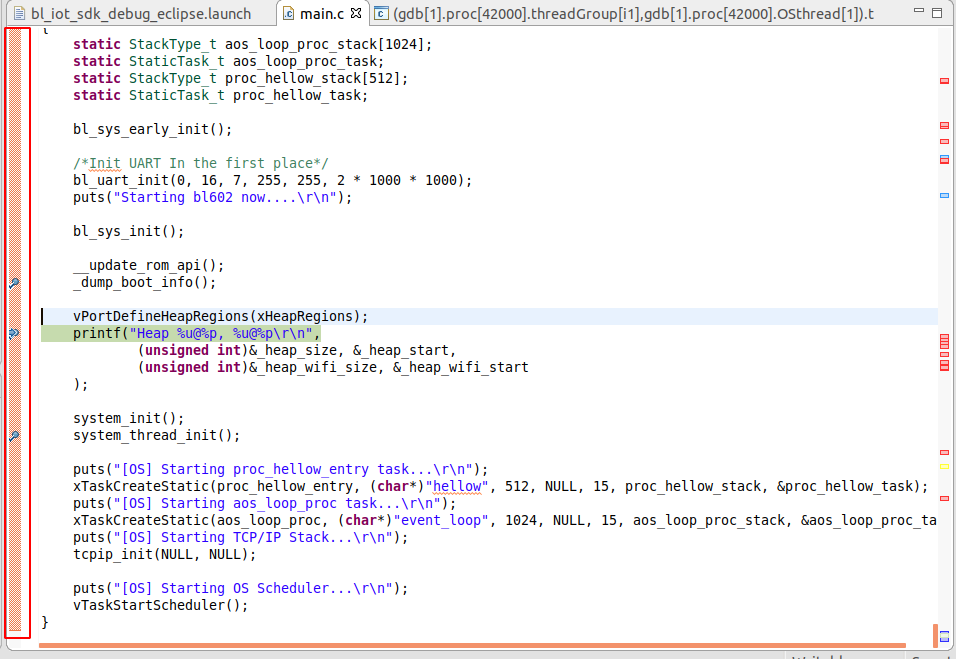
Use the shortcut key
F8to resume, you can see the program stops at thevoid bfl_main()main function, you can click the three buttons in the figure below. Their meanings areFirst Step Into (F5) Single-step execution, entering and continuing single-step execution when sub-functions are encountered.
The second Step Over (F6) does not go into subfunctions when encountered within a function during single-step execution, but instead stops the entire execution of the subfunctions as a single step.
The third Step Return (F7) is used to finish the remainder of the sub-function and return the previous level function when a single step is executed into the sub-function.

This image was not present in the original sources and has been reconstructed based on context. It might not accurately reflect the original image nor the intent of the original image.
You can add and remove breakpoints by double-clicking on the leftmost orange bar of the
codewindow.
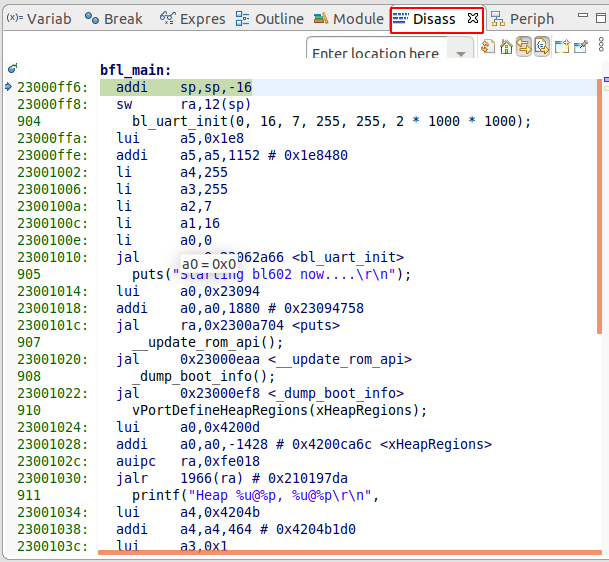
You can also view the corresponding assembly by looking at the
Disassemblywindow on the right (if that window isn’t available, you can add it by going toWindow > show view > Disassemblyin the top toolbar).