15. Mesh
15.1. Overview
This example shows how to use ble mesh.
15.2. Usage steps
Install
bl_mesh_app.apkon your phoneDownload and compile the
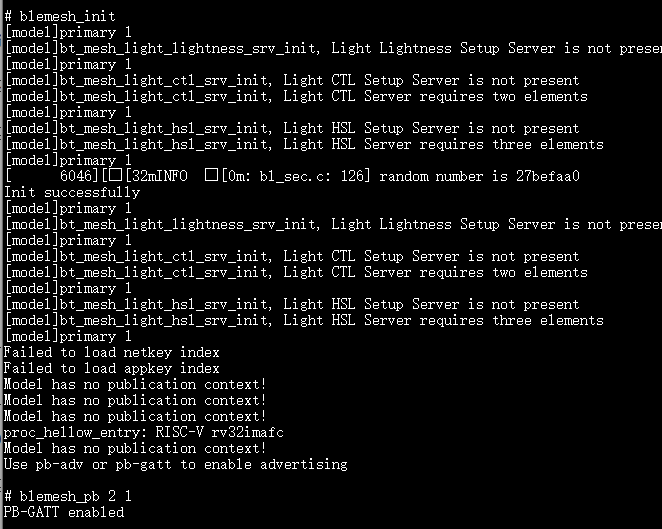
customer_app/bl602_demo_eventprojectRun following Mesh commands in the serial monitor:
#stack_ble
#blemesh_init
#blemesh_pb 2 1
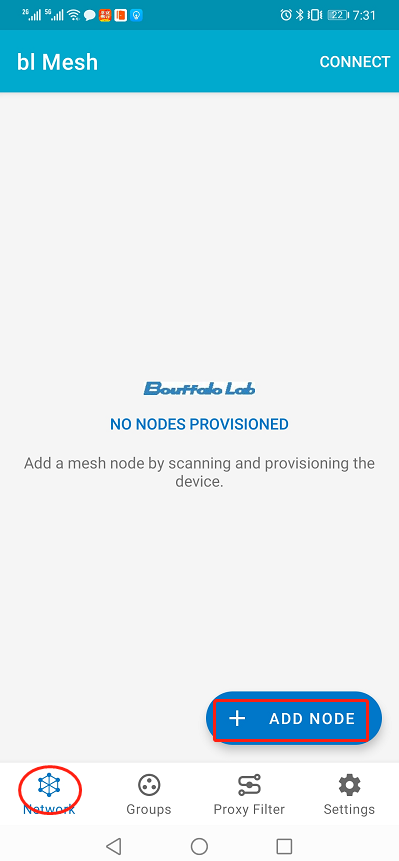
Open the app and select ADD NODE in the Network column
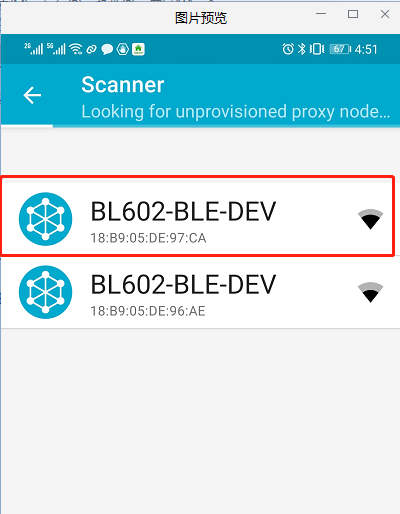
Select your device
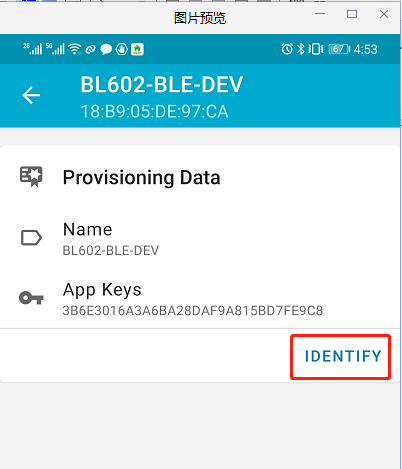
Click the IDENTIFY button
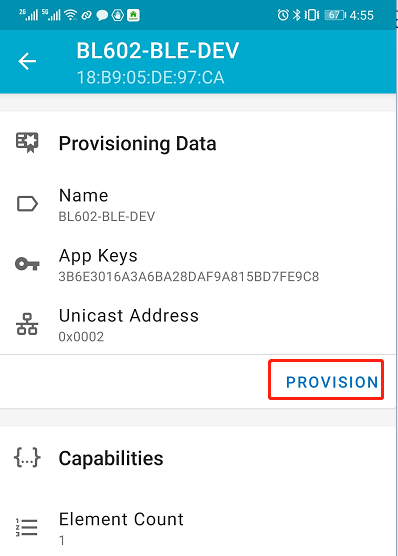
Click the PROVISION button
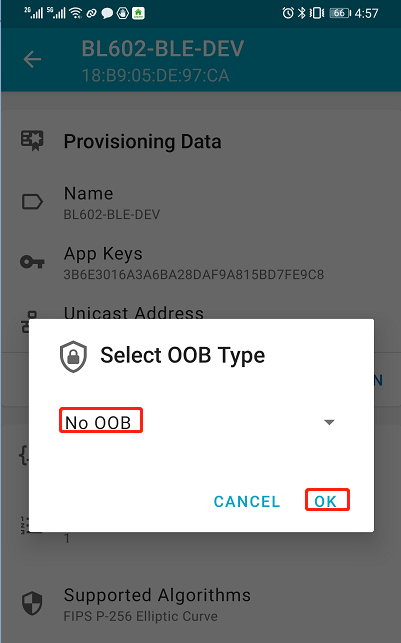
Select No OOB in the pop-up window and click ok
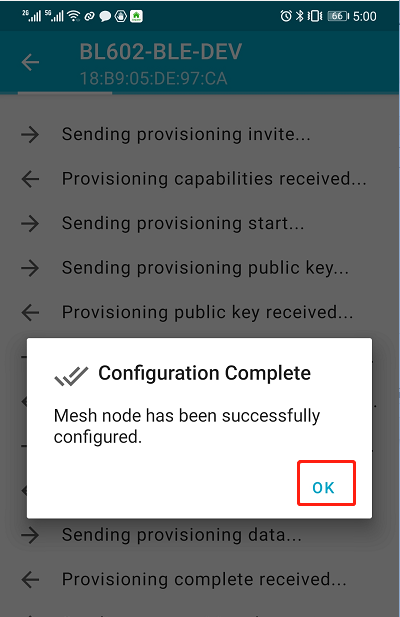
Click ok
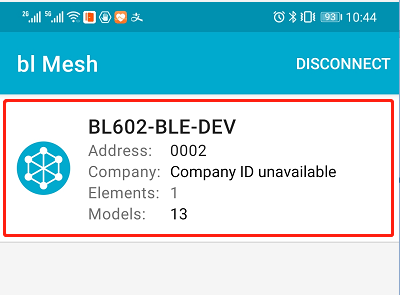
Your node is automatically added to the Network column, click on your connected device
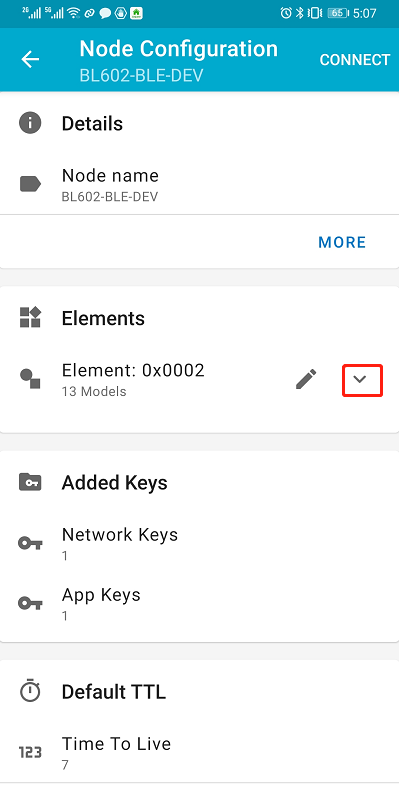
Locate Elements option and click it’s drop-down button
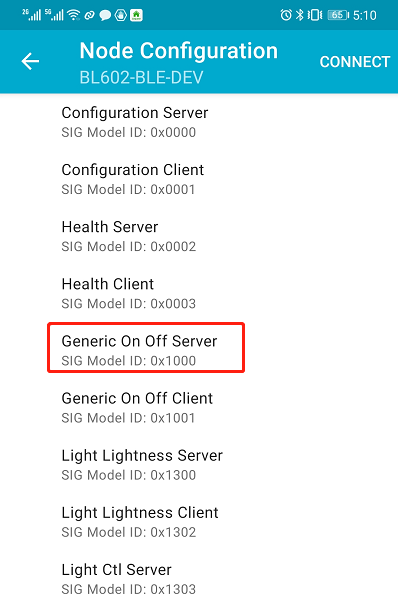
Select the Generic On Off Server option
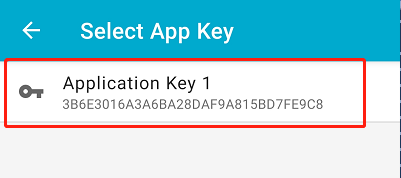
Click the BIND KEY button
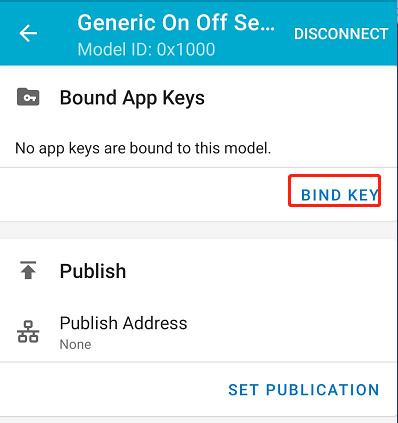
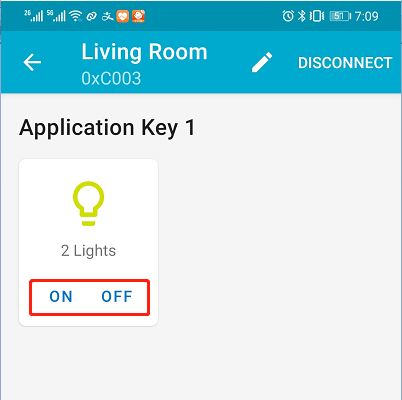
Click Application key 1
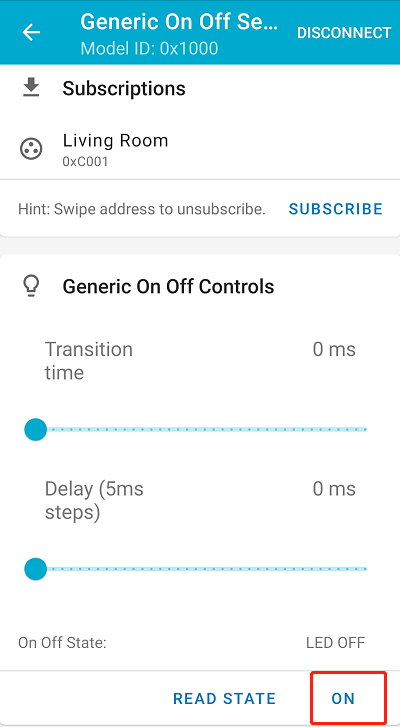
Click on the ON and OFF buttons to control the LED switch
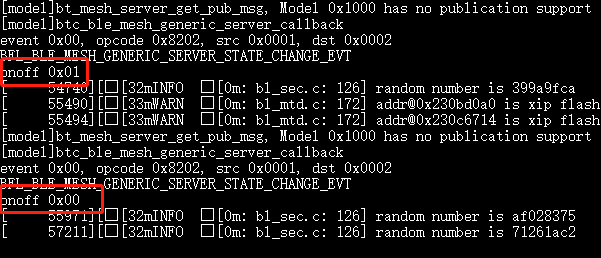
The following information can be seen in the serial monitor, indicating that the LED is successfully controlled
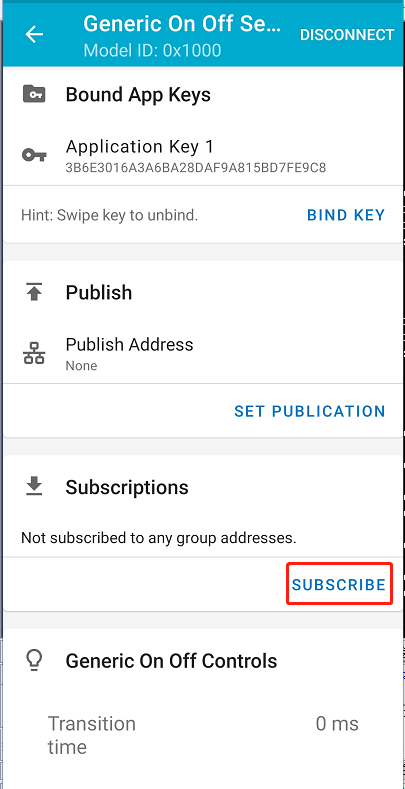
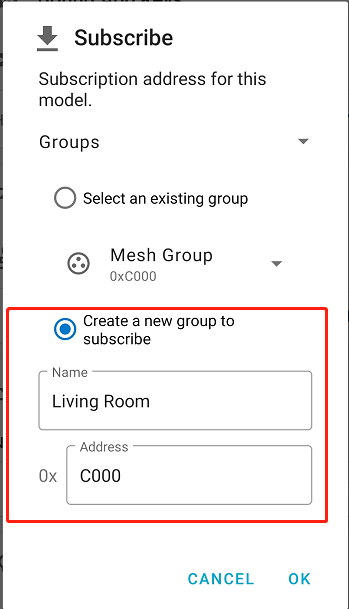
Click the SUBSCRIBE button
Select “Create a new group to subscribe” option
Follow the same steps to add another node. Then click on your group
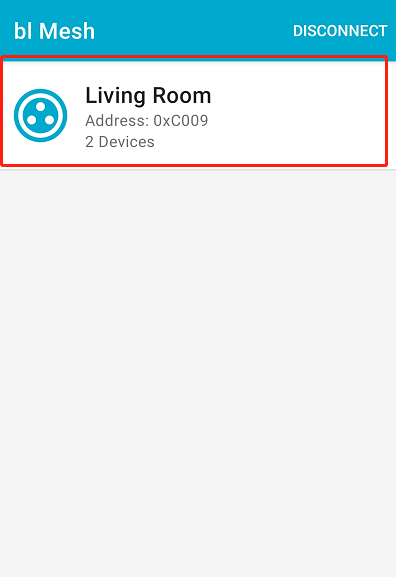
In the group, clicking on ON and OFF buttons prints the LED information in the serial monitor, indicating that the mesh is working